


Building a Discord bot starts with registering an application on the Discord Developer Portal. From there, you'll pick a coding library like discord.js (for JavaScript) or discord.py (for Python) and write the code that brings your bot to life. This bot uses a unique "token" to connect to Discord's API and interact with your server.
How to Make Discord Bots A Creator’s Practical Guide

Manage all your social media in one place with Postiz
+7 more
Why Your Community Needs a Custom Discord Bot
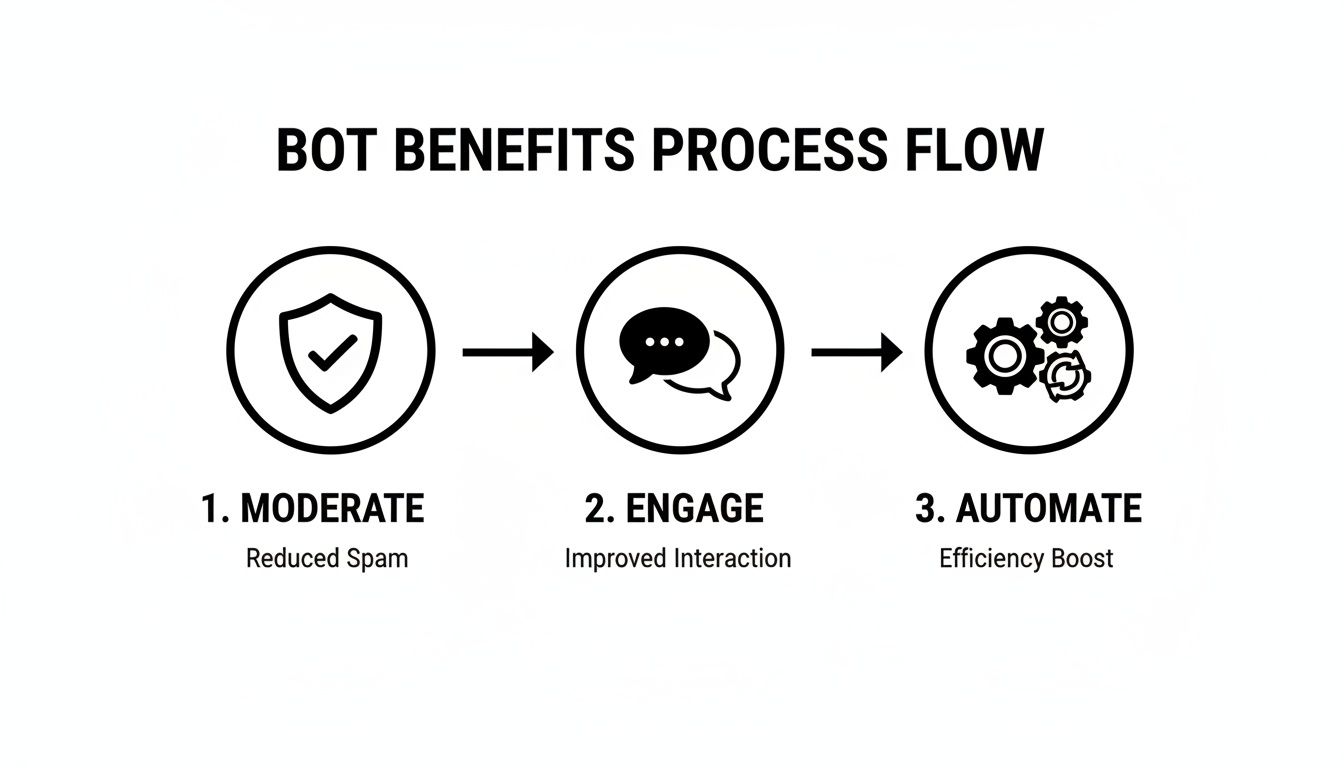
Before we jump into the nitty-gritty of coding, let's talk about why you'd even want a custom bot in the first place. A well-built bot isn't just a fun gimmick; it's a game-changer for automation, engagement, and overall community management. Think of it as your very own automated assistant, working 24/7 to make your server an awesome place to be.
This kind of automation can handle the tedious moderation tasks you'd rather not do, welcome new members with a personal touch, and manage roles without you lifting a finger. That frees you up to focus on what really matters—creating content and connecting with your community.
Supercharge Your Server with Automation
One of the biggest wins you get from building your own Discord bot is automating all the repetitive stuff. Instead of manually assigning roles every time someone joins or hunting down spam messages, your bot can take care of it instantly. It saves you a ton of time and keeps your server management consistent.
Here are a few key areas where automation really shines:
- Moderation: Your bot can automatically catch and delete spam, filter out inappropriate language, or mute disruptive users based on rules you set.
- Welcoming New Members: Set up a warm welcome in a specific channel, give newcomers a default role, and point them toward your server rules and key info.
- Role Management: Let users pick their own roles by reacting to a message or using a simple command. This gives them access to specific channels without you having to do it manually.
A custom bot is your first line of defense and your most dependable community ambassador. It enforces the rules and makes sure every new member feels welcomed, even when you’re asleep.
Drive Engagement and Interaction
Beyond just keeping things tidy, custom bots can create interactive experiences that get people talking. You can build features that are a perfect fit for your community's interests, making your server a unique place people want to come back to.
For instance, a bot could automatically announce your new blog posts, share your latest YouTube video the second it goes live, or run polls to get feedback from your members.
The Discord bot ecosystem is massive, with over 12 million active bots running on 28.4 million servers. In fact, bot-generated messages make up a staggering 28% of all messages sent on the platform. And with users firing off slash commands 1.7 billion times every month, it's clear people love interacting with them. For many server owners, this kind of automation cuts down their administrative time by an average of 45%. You can dig deeper into these numbers in this analysis of Discord server statistics.
These bots are a cornerstone of modern community building. To learn more about that bigger picture, check out our guide on https://postiz.com/blog/how-to-build-online-communities. And if you want to see just how accessible this has all become, you can even explore guides on no-code bot creation to get a feel for different approaches.
Preparing Your Bot Development Environment
Alright, you've got a great idea for a bot. Now it's time to roll up your sleeves and build the thing. This is where we'll set up your workshop—the place where your concept starts to take shape as real, working code. We’ll cover creating your bot's official identity on Discord, getting the right tools installed, and picking a programming library that fits you best.
Getting Official with the Discord Developer Portal
First things first: your bot needs an identity. For that, we head over to the Discord Developer Portal. Think of this as the official registration office for all bots.
You'll start by creating a new "Application." This is essentially the project container for your bot. Once the application exists, you can officially add a "Bot" to it. This simple click is what generates your bot's token—a long, unique string of characters that acts as its password.
Heads up: Your bot's token is the key to its kingdom. Treat it like a password. Never, ever share it publicly or commit it to a public GitHub repository. Anyone with this token can take control of your bot.
Installing Your Core Tools
Before a single line of code can be written, you need the foundational software that will run it. Your choice here really boils down to whether you're a JavaScript or Python person.
If you're in the JavaScript camp, you'll need Node.js. It's the engine that lets you run JavaScript code on your machine, not just in a browser. It also comes bundled with npm (Node Package Manager), which is how you'll install all the other libraries you need.
More of a Python fan? You'll need to install Python itself. Even if your computer already has it, it's always best to grab the latest stable release from their official site. Python comes with pip, its own package manager for handling libraries.
Getting set up is pretty painless:
- For JavaScript: Just download the LTS (Long-Term Support) installer for Node.js and run it. The defaults are usually perfect.
- For Python: Grab the latest installer, and during the setup process, make sure you check the box that says "Add Python to PATH." Trust me, this will save you a lot of headaches later.
A well-designed bot can completely change a server's dynamic, handling everything from moderation to engagement and automation.
This kind of automation isn't just for Discord; many developers also explore a variety of open source automation tools to streamline other parts of their workflow.
Choosing Your Bot Library: JavaScript vs. Python
With your programming language ready, the next step is to grab a library. A library is just a big collection of pre-written code that handles all the messy, complicated communication with Discord's API. This lets you focus on what your bot does, not on how it talks to the servers.
The two titans in this space are discord.js for JavaScript and discord.py for Python. Both are fantastic, with huge communities and great documentation. Honestly, the best choice usually just comes down to which language you feel more comfortable with.
Choosing Your Library: Discord.js vs Discord.py
This head-to-head comparison should help you decide which library is the best fit for your first Discord bot project.
| Feature | Discord.js (JavaScript) | Discord.py (Python) |
|---|---|---|
| Language | JavaScript/TypeScript | Python |
| Community | Massive and very active. You can find an answer to almost any problem. | Large and incredibly supportive, especially welcoming to beginners. |
| Ease of Use | A bit of a learning curve due to JavaScript's asynchronous nature. | Often seen as more beginner-friendly thanks to Python's simple syntax. |
| Ecosystem | The npm ecosystem is enormous, giving you packages for any integration imaginable. | A powerful ecosystem with deep roots in data science, scripting, and web tech. |
| Typical Use Case | Great for highly interactive bots, web dashboards, and complex applications. | A favorite for utility bots, data analysis, and general-purpose automation. |
At the end of the day, you can't go wrong with either one. Pick the library that uses the language you're most excited to learn and build with. Once you've made your choice, a quick npm install or pip install is all that stands between you and writing your first lines of bot code.
Coding Your First Bot Commands and Interactions
Now that your development environment is set up, it’s time to actually breathe some life into your bot. This is the fun part, where your code transforms that silent icon on your server into a real, interactive member of your community. We'll start with the absolute basics—teaching your bot how to listen—and then build out your very first command.
At its heart, a Discord bot is all about listening. It patiently waits for specific things to happen on the server, like a new message being sent, someone joining a channel, or a reaction being added to a post. In developer-speak, these are called events. Your job is to write "event listeners"—functions that jump into action the moment their designated event occurs.
For example, the messageCreate event (in discord.js) or the on_message event (in discord.py) fires every single time a message is posted in a channel your bot has access to. This is the bedrock of classic prefix-based commands, where a bot responds to messages starting with a special character, like !.
Building a Classic Prefix Command
Let's start with the quintessential first command: a "ping" command. The goal is dead simple. When a user types !ping, the bot replies with "Pong!". It's the "hello, world" of Discord bot development, but it's an incredibly useful first step. This little interaction proves your bot is online, listening, and ready for action.
Here’s what that logic looks like in both of the most popular libraries. Notice how they both check if a message starts with the ! prefix before checking the actual command name.
discord.js (JavaScript) Example:
client.on('messageCreate', message => {
// Always a good idea to ignore other bots
if (message.author.bot) return;
// Check for our '!ping' command
if (message.content === '!ping') {
message.channel.send('Pong!');
}
});
discord.py (Python) Example:
@client.event
async def on_message(message):
Make sure the bot doesn't reply to itself
if message.author == client.user:
return
Check for the '!ping' command
if message.content == '!ping':
await message.channel.send('Pong!')
These snippets are the fundamental building blocks for understanding how to make Discord bots that feel truly interactive. You can easily build on this. Imagine a !latestvideo command that automatically fetches and posts the URL of your newest YouTube video. The logic starts right here.
The Modern Approach: Slash Commands
While prefix commands got the job done for years, Discord has moved toward a much cleaner and more user-friendly system: slash commands. Instead of your community having to remember !this or ?that, they just type /. Instantly, a slick menu pops up, showing them all of your bot's available commands with descriptions.
This is a massive upgrade for user experience. No more guesswork or typos. From a developer's standpoint, it also makes life way easier by eliminating the messy work of parsing command text yourself.
Slash commands are the new standard. They provide a structured, discoverable, and much more professional way for users to interact with your bot. Shifting to slash commands is one of the best upgrades you can make to your project.
To get started with slash commands, you first have to register them with Discord. This is usually a one-time script you run that tells Discord, "Hey, my bot has these commands, here's what they're called, and here's what info they need from the user."
Once a /ping command is registered, your code to handle it looks a bit different. Instead of watching every message, you listen for a specific interactionCreate event.
Handling a Slash Command in discord.js:
client.on('interactionCreate', async interaction => {
// Make sure we're only handling slash commands
if (!interaction.isCommand()) return;
const { commandName } = interaction;
if (commandName === 'ping') {
await interaction.reply('Pong!');
}
});
See how much cleaner that is? The code specifically checks for a command interaction and then just matches the name. No more string manipulation—just clean, reliable logic.
A Practical Slash Command Example
Let's picture a bot designed to help manage your creator community. A super useful command would be /poll, which would let you quickly survey your audience. This command would naturally need to take the poll's question as an argument.
Here’s a quick breakdown of how that would work:
- Register the Command: First, you’d register a command named
pollthat requires a single string option calledquestion. - Listen for the Interaction: Your bot’s code would be listening for that
interactionCreateevent. - Handle the Command: When a user runs
/poll How is everyone today?, your bot gets pinged with all the interaction details. - Extract the Data: Your code easily grabs the value of the
questionoption from the interaction data. - Perform the Action: Finally, the bot sends a message to the channel containing the question and adds 👍 and 👎 reaction emojis to it, creating an instant poll.
This workflow is far more robust than trying to manually parse a long message like !poll How is everyone today?. With slash commands, Discord does the heavy lifting, delivering the command and its arguments to you in a neat, structured package. This approach is absolutely key to building powerful and scalable Discord bots.
Implementing Roles and Advanced Features
Once you've got the hang of basic commands, it's time to build features that really weave your bot into the fabric of your server. A smart bot doesn't just respond; it understands hierarchy and context. This means creating commands that only certain members can use and automating tasks that make your community feel alive and well-managed.
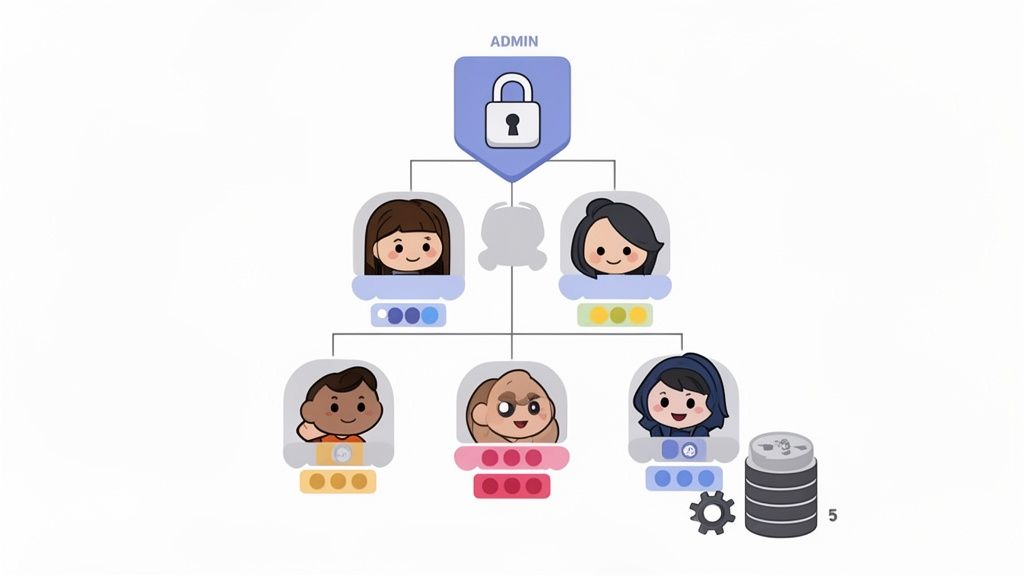
Think about something like a /kick or /ban command. You obviously can't let just anyone use that. By checking the roles of the person running the command, your bot can decide whether to execute the action or just send back a polite "Access Denied" message. This is the cornerstone of building safe and effective moderation tools.
Building Admin-Only Commands
Locking down sensitive commands is a must-have skill. Fortunately, both discord.js and discord.py make it pretty simple to check a member's permissions before your code does anything risky. You can look for a specific role name (like "Admin" or "Mod") or check for a specific permission flag (like Administrator or KickMembers).
The logic is straightforward:
- Your bot sees a slash command get used.
- Before anything else, it checks if the user has the right role or permission.
- If they're authorized, the command runs. If not, the bot sends back a private error message that only they can see (known as an ephemeral message).
For example, in discord.js, you can easily tap into interaction.member.permissions and use a simple check like has('Administrator') to see if they're an admin. This one line of code transforms a simple command into a secure moderation tool. It's a huge part of learning how to make Discord bots that are genuinely helpful.
Your bot becomes an extension of your moderation team when it understands who it should and shouldn't listen to. Properly implemented permission checks are non-negotiable for a secure and well-run server.
Automating Welcomes and Role Assignments
Beyond just responding to commands, your bot can react to things happening in the server. One of the most common and impactful automations you can build is a welcome system for new members.
When someone joins your server, Discord fires a guildMemberAdd event. You can write code that "listens" for this event and automatically kicks off a welcome sequence. This is your chance to make a great first impression without having to manually greet every single person.
A solid welcome system usually does a few things:
- Sends a Custom Message: Posts a warm greeting in a designated channel, maybe even tagging the new user.
- Assigns a Starting Role: Automatically gives them a "New Member" or "Verified" role to unlock initial channel access.
- Sends a Direct Message: DMs the user with server rules or helpful links to get them oriented.
This kind of automation ensures every new member gets the same consistent, high-quality onboarding, which is a lifesaver for growing communities.
Introducing Data Persistence for Smarter Features
Up to this point, our bot has no memory. If it restarts, everything it knew is gone. To build truly cool features—like leaderboards, custom user profiles, or server-specific settings—your bot needs a way to remember things. This is where data persistence comes into play.
The easiest way to get started is with a lightweight database. Something file-based like SQLite is perfect for this. It doesn't require a separate server process and stores all your data in a single file right next to your bot's code, making it incredibly easy to set up.
With a database hooked up, your bot can suddenly:
- Store User Data: Track points, experience levels, or warning counts for a moderation system.
- Save Server Settings: Let admins set a custom welcome message or a specific channel for bot announcements.
- Create Lasting Features: Build an economy system with user balances or a leveling system that remembers progress across sessions.
Connecting to a database opens up a whole new world of possibilities. It elevates your project from a simple command-response script to a dynamic application that grows right along with your community. This is where you see the true power of a custom bot.
Keeping Your Bot Online with Testing and Hosting
You’ve coded the commands, built the features, and your bot is finally doing what you designed it to do. Awesome! But the job isn't quite finished. A bot that only runs when your computer is on is just a personal project. To make it a real, reliable tool for your community, you need to put it through its paces with some serious testing and then find it a permanent home online where it can run 24/7. This is the final step that turns your script into a service people can depend on.
Time to Try and Break It
Writing the code is one thing; making sure it’s bulletproof is another challenge entirely. Before you even think about deployment, you need to test your bot relentlessly. This goes way beyond just making sure /ping replies with "Pong." You have to actively try to break it. What happens if someone types gibberish into a command that expects a number? Or if you invite the bot to a server where it doesn't have the permissions it needs?
This process is called debugging—the art of hunting down and squashing those inevitable bugs. The best way to start is by creating a private Discord server just for testing. Once it's set up, you can add your bot and maybe invite a few trusted friends to help you poke and prod at it. If you need a refresher, our guide on how to add bots to a Discord server can walk you through it: https://postiz.com/blog/how-to-add-bots-to-a-discord-server. Getting feedback from real people is incredibly valuable for finding issues you might have missed.
Finding the Right Home for Your Bot
Once your bot is stable and bug-free, it needs a place to live on the internet. Running it from your laptop just isn't going to cut it; it would go offline every time you close the lid. That’s where hosting services come in, giving your bot a server where its code can run around the clock.
Your choice of host really comes down to three things: your budget, your technical comfort level, and what your bot actually needs.
- Free Cloud Platforms: For beginners, services like Replit's "Always On" feature or Glitch are fantastic starting points. They’re free and easy to get going, which is perfect for smaller bots without heavy processing needs. The main downside is that they can be less reliable and might "go to sleep" during periods of inactivity, causing a slight delay when someone first uses a command.
- Virtual Private Server (VPS): A VPS from a provider like DigitalOcean, Linode, or Vultr is like renting your own small, private machine in the cloud. This gives you way more control and power, making it the ideal choice for larger bots or any bot that needs a database. You can get started with a solid VPS for around $5 per month, which is a great balance of price and performance.
- Dedicated Hosting and Cloud Services: For truly massive bots that serve thousands of communities, you’ll eventually look at platforms like AWS or Google Cloud. These offer almost limitless scalability but have a much steeper learning curve and can get expensive if you're not careful.
If you're weighing the pros and cons, a good technical guide on the best hosting for developers can offer a deeper comparison to help you find the perfect fit.
My two cents: When your bot is just starting out, a free service is a no-brainer. But the moment it starts getting regular use in a few active servers, investing in a basic VPS is one of the best upgrades you can make for reliability and speed.
Scaling Your Bot for a Growing Community
As your server grows, so will the demands on your bot. It's not just a hypothetical; by 2025, Discord is projected to have over 656 million users sending a staggering 4 billion messages daily. Bots need to be built to handle that kind of traffic.
For bots that hit the big time, a simple script on one server won't be enough. You'll start looking at advanced techniques like microservices, which can help achieve 200ms response times and 99.9% uptime even under heavy load. Thinking about this now might feel like getting ahead of yourself, but building on a solid hosting foundation from the start makes it much easier to scale when your community—and your bot—start to take off.
Got Questions About Building a Discord Bot?
As you start your journey into making Discord bots, you're bound to run into a few head-scratchers. That's completely normal. Let's tackle some of the most common questions that pop up for new bot developers.
So, How Much Does It Really Cost to Make and Host a Bot?
Good news: building a Discord bot is totally free. You can code the entire thing on your own computer without spending a single dollar. The only real cost you might face is hosting—the service that keeps your bot up and running 24/7.
For your first bot or one that’s just for your small server, free hosting options are more than enough.
- Replit: Their "Always On" feature is a fantastic starting point.
- Glitch: Another great choice, especially for simple projects or if you want to code with others.
Once your bot starts getting popular and joining more servers, it might need a bit more muscle. That's when you'd look at a Virtual Private Server (VPS) or a cloud platform like AWS or Heroku. These paid plans can run anywhere from $5 to $50 a month, all depending on how much power you need. Honestly, though, most personal bots can run for free or for the price of a cup of coffee each month.
What's the Deal with Discord Gateway Intents?
Think of Gateway Intents as a permission slip. You have to tell Discord exactly what kind of information (or "events") your bot needs to pay attention to. Discord started requiring this back in 2020 to make the whole system more efficient and secure.
For example, if you want your bot to greet new people, you have to specifically enable the Server Members Intent in your application settings on the Discord Developer Portal. If you forget, your bot will be completely blind to anyone joining the server. Your welcome message feature just won't work. It's a small detail that often trips up new developers.
It helps to think of intents like a subscription. If your bot doesn't subscribe to the "new member" channel, Discord won't send it those updates. Always double-check your intents match what your bot's features actually do.
Is It Possible to Make a Discord Bot Without Coding?
Absolutely. You can get a bot up and running without touching a single line of code. There are a bunch of platforms out there with visual, drag-and-drop interfaces for building simple bots. Tools like BotGhost or Autocode let you set up automations and commands through a website.
These no-code builders are fantastic for straightforward tasks—think automatic replies, welcome messages, or basic moderation. But they do have a ceiling. If you want to create something truly custom, with unique features or connections to other apps and APIs, you'll eventually need to roll up your sleeves and learn a library like discord.js or discord.py.
How Do I Keep My Discord Bot Secure?
Security is a huge deal. Your number one rule, always, is to never, ever share your bot's token. That token is the key to the kingdom. Treat it like your most sensitive password.
Here are three security habits you should build from day one:
- Use Environment Variables: Never paste your token directly into your code. Instead, store it in a separate
.envfile that you keep private. This keeps your credentials out of your public code, especially if you share it on a site like GitHub. - Check for Permissions: For any command that can make changes—like
/kickor/ban—your code should always first check if the person using the command actually has the permission to do so. Don't just assume they do. - Clean Up User Input: If your bot saves any information from users, especially to a database, you need to sanitize that input. This is your best defense against injection attacks, where a malicious user could try to break your bot or steal data.
Ready to create amazing content for all your social platforms, including your Discord announcements? Postiz provides AI-powered tools for content ideation and image generation, helping you craft engaging posts effortlessly. Streamline your entire workflow at Postiz.

Founder of Postiz, on a mission to increase revenue for ambitious entrepreneurs
Do you want to grow your social media faster?

Do You Want to Grow Your Social Media Faster?
Thousands of creators and businesses use Postiz to 10x their social media reach. Stop spending hours — automate and grow.
🚀Schedule to all platforms at once
🤖Let AI write your posts for you
📈Watch your engagement skyrocket
💸Completely free to start
Related Posts

Learn how to effectively send follow-up messages on LinkedIn to engage professionally with your network connections.

Learn how to grow on pinterest with proven strategies for profile optimization, Pin creation, SEO, and analytics to boost your reach.

The 2026 Instagram algorithm rewards sessions, not single reels. Here are the four viral triggers — signature series, trial reels ads, discovery carousels, and secondary hooks — that are pushing creators past 200K views right now, and how to run them on autopilot.
Ready to get started?
Grow your social media presence with Postiz.
Schedule, analyze, and engage with your audience.

Open-source social media scheduling tool