


So, you've hit the dreaded "sorry, the image dimensions are invalid. must be 640×360" error. We've all been there. The good news is that the fix is straightforward: you need to resize or crop your image to a 16:9 aspect ratio. This isn't about your image being too big or too small; it’s all about its shape.
How to Fix “Sorry, The Image Dimensions Are Invalid. Must Be 640×360” for Good

Manage all your social media in one place with Postiz
+7 more
Why You Are Seeing the 640×360 Image Error

Running into this exact error message is a common headache, especially on platforms like Facebook. The platform isn't trying to be difficult—it’s just enforcing a technical rule to make sure your content looks good everywhere, especially on mobile.
Think of it this way: the platform has a specific rectangular slot reserved for your image. A 640×360 pixel dimension is just a standard widescreen format, also known as a 16:9 aspect ratio. If you try to fit a square or a tall, vertical photo into that wide, horizontal slot, it’s not going to work without looking stretched or awkwardly cropped. Enforcing this size keeps the user experience clean and consistent.
The Role of Aspect Ratios
Aspect ratio is simply the relationship between an image's width and its height. For instance, a 640×360 image has the exact same shape as a high-definition 1920×1080 image. They both share that 16:9 aspect ratio. The error message is the platform’s way of saying your image's ratio is off.
Take a Facebook cover photo, for example. You might upload a large image at 851×315 pixels for desktop, but Facebook automatically generates a 640×360 version of it for how it appears on mobile devices. If your original upload is too far from that shape, the system flags it.
Key Takeaway: This error isn't about your image's quality. It's a simple mismatch between your image's shape and the box it needs to fit into.
This is a perfect illustration of why understanding different dimensions is crucial for content creators. Getting a handle on basics, like what size is a 4×6 picture translates across all sorts of media, both digital and print.
It’s also why modern tools like Postiz have built-in design features. Instead of getting bogged down in manual resizing, they handle the formatting for you, turning a potential roadblock into a smooth part of your workflow. And remember, every platform has its quirks; you can see just how much they vary in our guide on the ideal LinkedIn post dimensions.
Fixing Image Dimensions in Seconds with Postiz
There's nothing more frustrating than being in your content creation flow, only to be stopped dead by a technical error. Leaving your scheduling platform to open a separate design tool just to resize an image is a classic workflow killer. This is exactly why an integrated editor is such a lifesaver for the “sorry, the image dimensions are invalid. must be 640×360” error.
Instead of fiddling with manual adjustments, you can fix the problem in a couple of clicks, right where you're already working. It’s incredibly simple. After uploading your image, just pop open the built-in design tools.
Using Presets for Instant Fixes
Inside the editor, you'll find a list of size presets already configured for different social media needs. You don't have to remember that 640×360 pixels is a 16:9 aspect ratio—the tool has already done that work for you. Just find the preset you need and select it.
Here’s a look at how easy it is to find the preset in the Postiz editor.
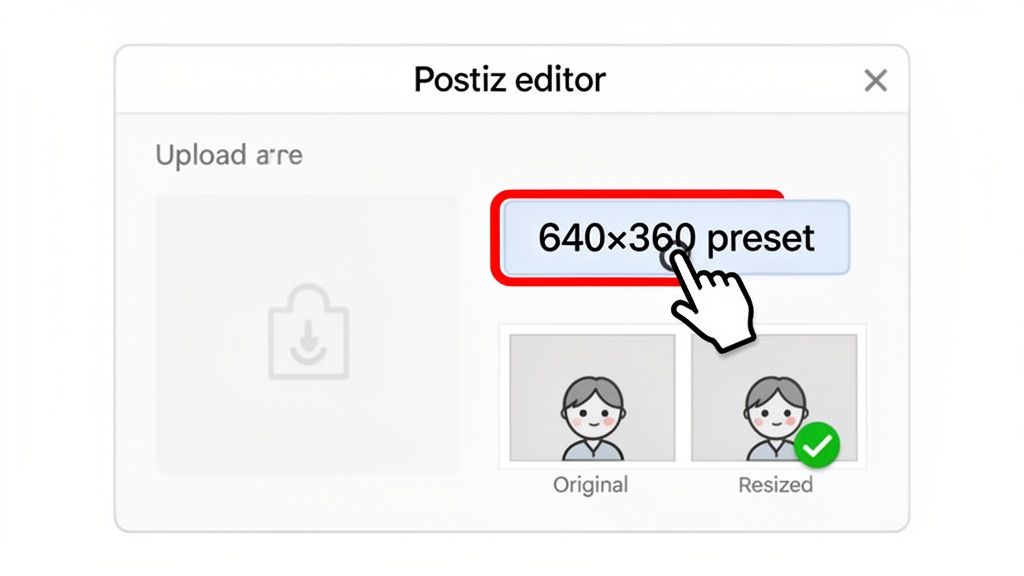
With a single click, the editor instantly crops and resizes your visual to the perfect dimensions. A once-annoying error becomes a non-issue.
For busy creators and marketing agencies, this is a huge time-saver. It keeps your creative momentum going without forcing you to jump between different apps and lose your train of thought.
Pro Tip: Sometimes the automatic crop isn't perfect. If it cuts off an important part of your image, you can easily drag the picture around within the frame to get the positioning just right before you save.
Using an all-in-one solution like this removes the friction that technical errors create. If you want to see how an integrated workflow can make your life easier, you can explore the Postiz platform. The whole point is to spend more time creating and less time fighting with formatting. Your tools should work for you, not against you.
Not working inside a platform like Postiz that handles this for you? No problem. Manually resizing an image is a core skill, and thankfully, there are plenty of great free tools out there to fix that frustrating “invalid dimensions” error.
Whether you're using a web-based editor or desktop software, the basic steps are pretty much the same. The real trick is knowing how to unlock the aspect ratio. That’s the one setting that trips up almost everyone.
Using a Simple Online Editor Like Canva
Canva is probably the quickest way to get this done. Its interface is designed to be as simple as possible.
Just create a new design and select "Custom size." From there, punch in 640 pixels for the width and 360 for the height.
Once your blank 640×360 canvas is ready, upload your image and drop it in. You can then slide it around to get the perfect framing. This is less of a resize and more of a precision crop, but it gets the job done fast.
Using Powerful Desktop Software Like GIMP
If you want more fine-grained control, a free powerhouse like GIMP (GNU Image Manipulation Program) is a fantastic option. The process is a little different but just as straightforward.
- First, open your image in GIMP.
- Go to the "Image" menu and find "Scale Image."
- A dialog box will pop up with Width and Height fields. Look for a tiny chain icon right next to them—that's the aspect ratio lock. Click it to "unbreak" the link.
- Now you can freely enter 640 for the Width and 360 for the Height.
- Hit "Scale," and you're all set.
Unlocking that aspect ratio is the make-or-break step. If you leave it linked, changing the width will automatically change the height, and you’ll never hit that exact 640×360 target.
After you’ve resized it, just export the image as a JPG or PNG. This ensures it's not just the right size but also ready for the web.
If you like to have a few options in your back pocket, there are dozens of other free image resizing tools that can get you to the required 640×360 dimensions. And while you’re at it, it’s a good idea to double-check other platform-specific rules—our guide on vertical video dimensions is a great resource for avoiding similar upload snags.
What If the Dimensions Are Right, But It Still Fails?
It's one of the most frustrating things that can happen. You’ve painstakingly resized your image to a perfect 640×360, hit upload, and… rejected. Again. What gives?
Nine times out of ten, when this happens, the dimension error is just a generic message masking another problem. It's the platform's default way of saying "something's wrong," even when the issue is actually file size, format, or resolution. You're left scratching your head, thinking you've followed the rules.
The Hidden Culprits Checklist
When your perfectly sized image won't upload, it's time to play detective. Run through this quick checklist to find the real troublemaker.
- File Size: Is your image too heavy? Many platforms have strict limits. For instance, a high-quality 640×360 PNG can easily sneak past the common 8MB cap on some sites.
- File Format: Are you using a web-friendly format? Stick to JPG or PNG. Sending a TIFF or BMP file is a common mistake that will almost always get your upload bounced.
- Resolution (DPI): Is the resolution set for the web? The gold standard is 72 DPI. While not always a hard requirement, it's best practice and helps keep your file sizes in check.
This simple flowchart breaks down the decision-making process for resizing an image and choosing the right tool for the job.
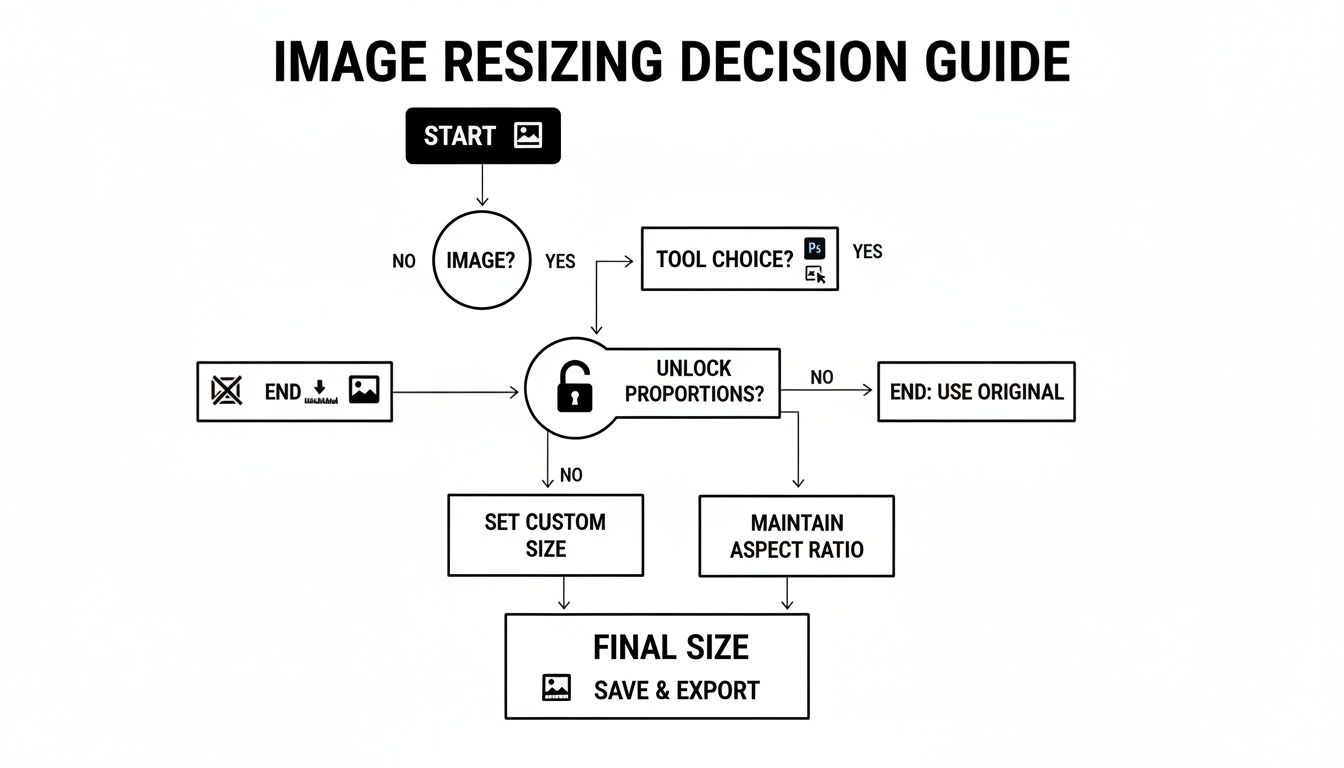
As the diagram shows, one of the most crucial steps is often unchecking that "lock aspect ratio" box to get the exact custom dimensions you need. It’s a small detail that makes a huge difference.
Keeping track of every platform's unique rules can be a full-time job. To get a handle on all the different specs, this social media image sizes guide from Sprout Social is an excellent resource I often refer back to.
Key Insight: Don't take the dimension error at face value. It's often a red herring. Always double-check the file size and format, as they are the most common hidden reasons for an upload failure.
The good news is that smart tools like Postiz are built to handle these tricky details for you. It automatically compresses and optimizes your images in the background, ensuring they meet all the technical requirements without you having to think about it.
Building a Workflow to Prevent Future Errors
Fixing an error once is fine, but building a system to make sure it never happens again is where you really save time and frustration. If you're tired of hitting these roadblocks, it’s time to shift from a reactive mindset to a proactive one.
This is all about building a smarter workflow for your visuals. Instead of fixing images one by one as the errors pop up, you need a process that gets them right from the start. It’s the classic case of working smarter, not harder.
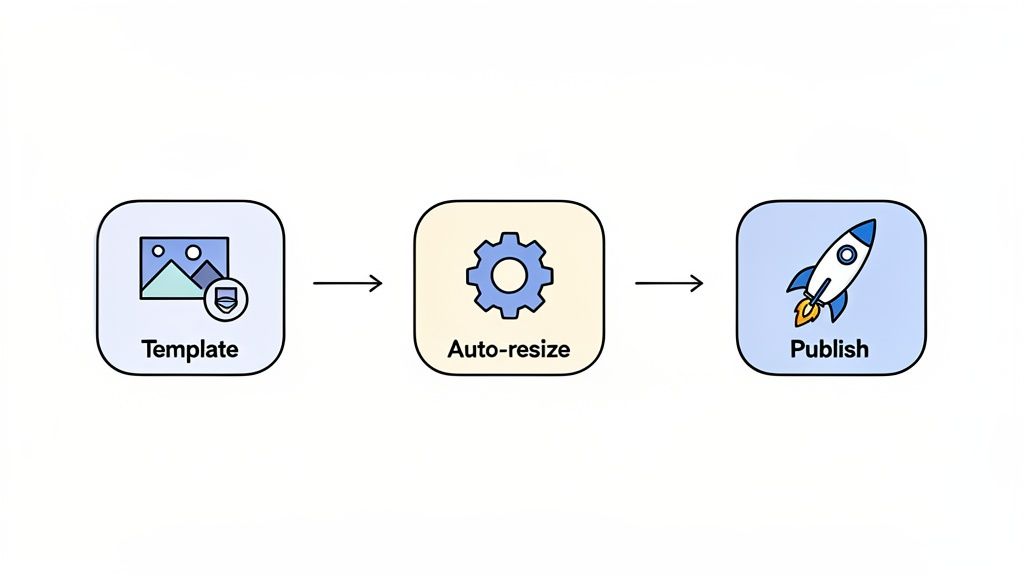
Create and Automate with Templates
One of the easiest things you can do is create a set of pre-sized image templates. If you know you’re constantly posting to a platform that demands a 640×360 image, just have a blank template ready to go in Canva or Photoshop. This simple step removes all the guesswork.
But let's be honest, manual templates only get you so far. The real efficiency comes from using platforms that automate the resizing process for you.
Pro Tip: Don’t stop at just one template. Build a whole library for your most-used image sizes—think Instagram squares (1080×1080), vertical Stories (1080×1920), and widescreen Twitter images. Having these on hand is a massive time-saver.
An even better approach is to let a tool do the heavy lifting automatically. For example, the cross-posting feature in a scheduler like Postiz can take one master image and intelligently resize it for every social network you're posting to.
You just upload one high-quality visual, and the system automatically generates perfectly sized versions for Facebook, Instagram, LinkedIn, and anywhere else you need. This lets you focus on creating great content instead of getting bogged down in tedious technical fixes.
By setting up a reliable, automated workflow, you can schedule your posts with confidence, knowing that the annoying "image dimensions are invalid" error is a thing of the past.
Got Questions? We've Got Answers
Even with the fixes in hand, you might still have a few questions floating around. Let's tackle some of the most common ones we hear about that frustrating “sorry, the image dimensions are invalid. must be 640×360” error.
My Image Is Way Bigger Than 640×360. Why Is It Still Getting Rejected?
This is a classic case of shape versus size. The error isn't about how many pixels you have; it's about the aspect ratio.
Think of it like this: the platform wants a widescreen TV shape (a 16:9 ratio, which is what 640×360 is), but you're giving it a postcard shape (like a 1200×800 image, which has a 3:2 ratio). Even though your image is technically larger and has more pixels, it's the wrong shape, so it gets rejected.
The fix is simple: just crop or resize your image to match that required 16:9 shape before you upload it.
If I Shrink My Image Down to 640×360, Won't It Look Blurry?
Not at all, as long as you're starting with a good-quality image. When you scale a large, high-resolution photo down to 640×360, it will almost always stay sharp and clear.
The blurriness problem happens when you do the opposite—trying to stretch a tiny, low-resolution image to make it bigger. The golden rule is to always start with the highest quality image you have and then resize it down to your target dimensions.
Can I Just Use the Same 640×360 Image Everywhere?
I'd strongly advise against it. While that 640×360 size might be perfect for one specific spot (like a mobile view for a Facebook cover), it's not a one-size-fits-all solution.
Every platform has its own sweet spot. Instagram posts love a 1080×1080 square, while Stories are built for a 1080×1920 vertical format.
Using a single image size across all your channels often leads to awkward, auto-cropped results that just don't look professional. You'll get much better engagement when you respect the native format of each platform.
This is where a good scheduling tool really shines. Tools with smart cross-posting can automatically resize your primary image for each network, saving you a massive amount of time and effort.
Stop wrestling with image dimensions and start creating effortlessly. With Postiz, you can design, schedule, and publish perfectly formatted content to all your social channels from one simple dashboard. Check out how our integrated tools can automate your workflow and take the guesswork out of posting.

Founder of Postiz, on a mission to increase revenue for ambitious entrepreneurs
Do you want to grow your social media faster?

Do You Want to Grow Your Social Media Faster?
Thousands of creators and businesses use Postiz to 10x their social media reach. Stop spending hours — automate and grow.
🚀Schedule to all platforms at once
🤖Let AI write your posts for you
📈Watch your engagement skyrocket
💸Completely free to start
Related Posts

Master Instagram Reels in 2025 with 10 ideas to boost engagement, grow visibility, and keep your audience hooked.

Discover the top 10 increase social media engagement strategies and tips. Complete guide with actionable insights.

A practical guide on how to increase sales using social media. Learn proven strategies for content, scheduling, and analytics to boost your revenue.
Ready to get started?
Grow your social media presence with Postiz.
Schedule, analyze, and engage with your audience.

Open-source social media scheduling tool